Announcement

Collapse
No announcement yet.

My Green 1971 911 gets a makeover

Collapse
X
Collapse
First Prev Next Last
 
  • Filter
  • Time
  • Show
Clear All
new posts

  • My Green 1971 911 gets a makeover

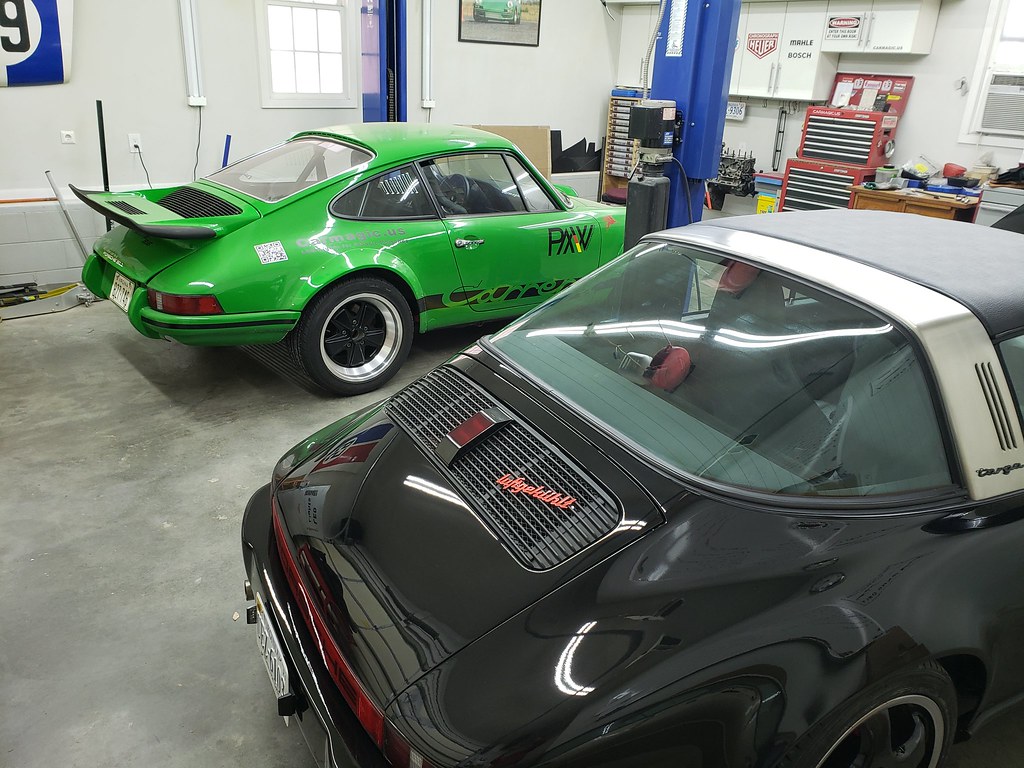
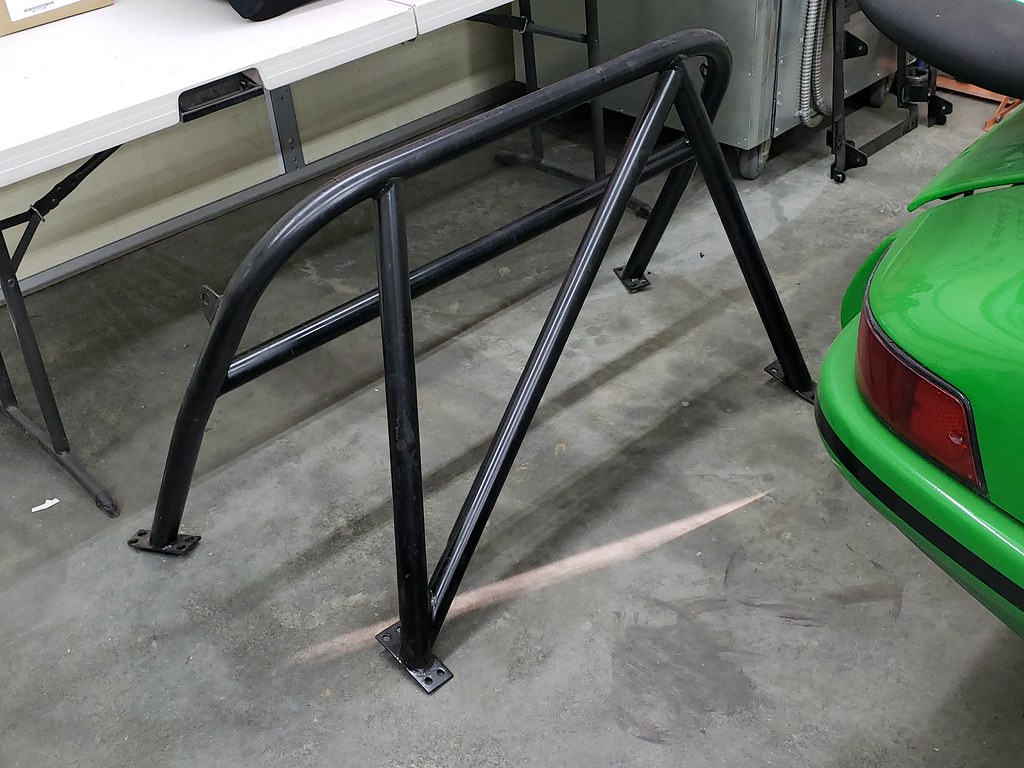
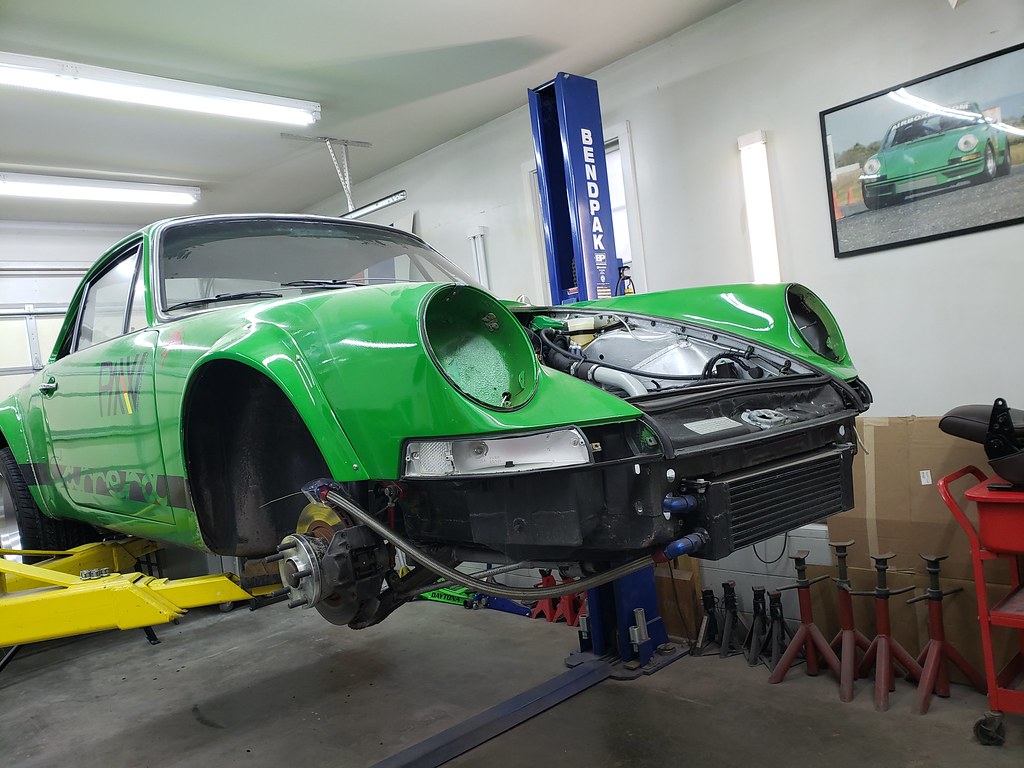
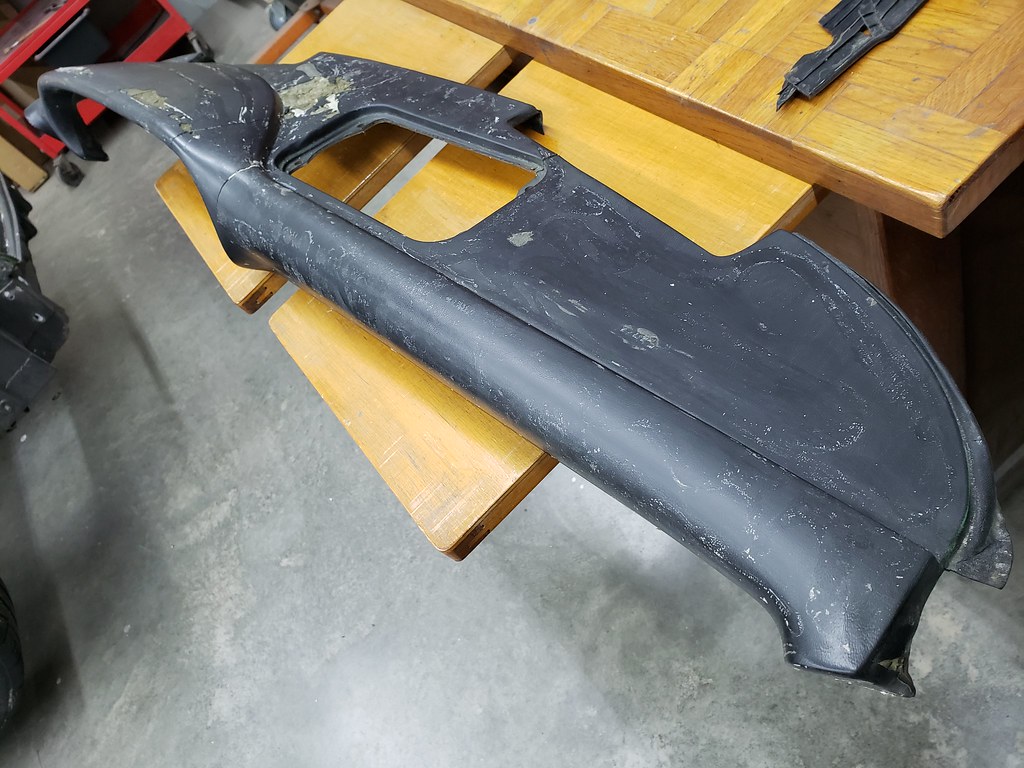
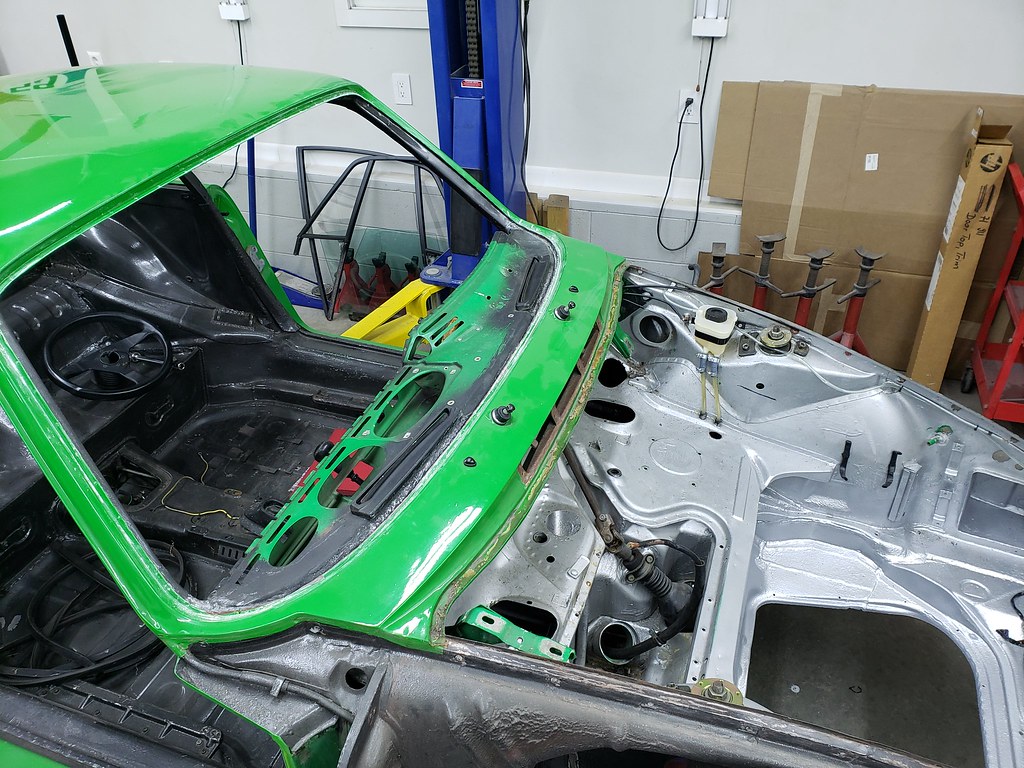
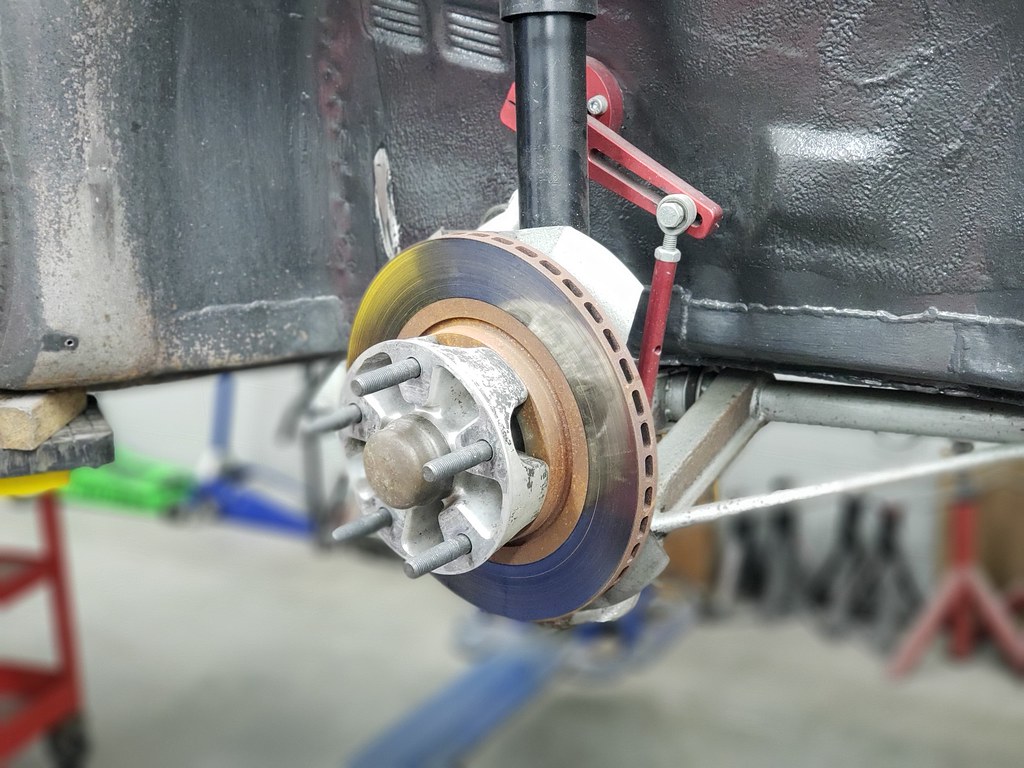
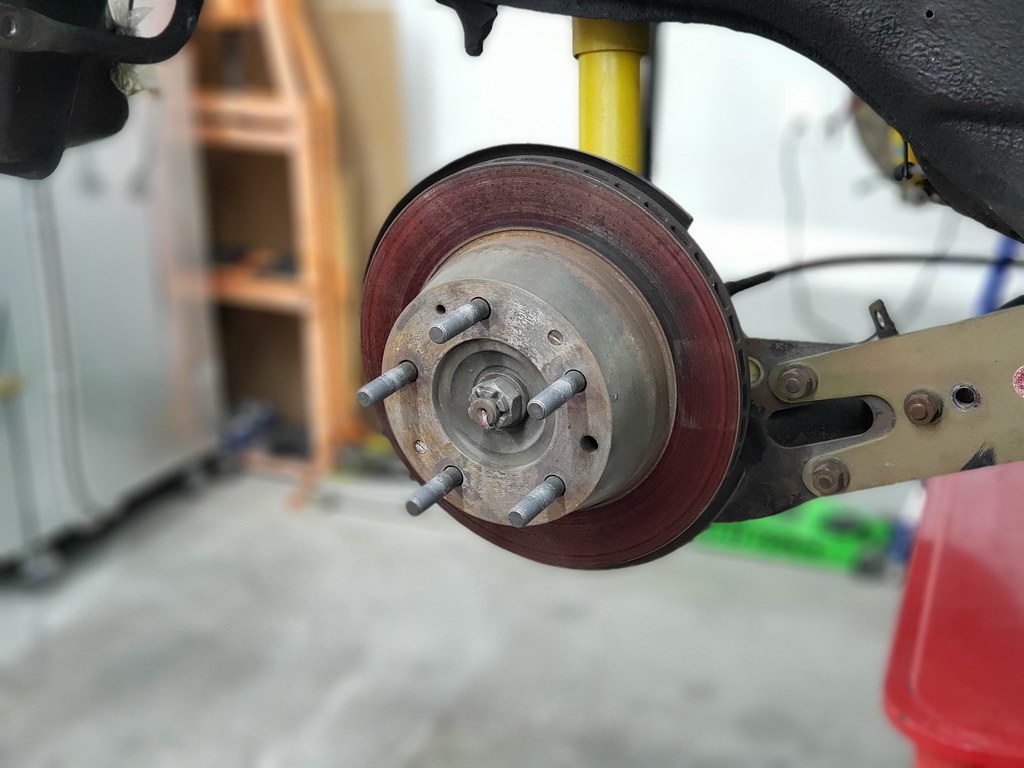
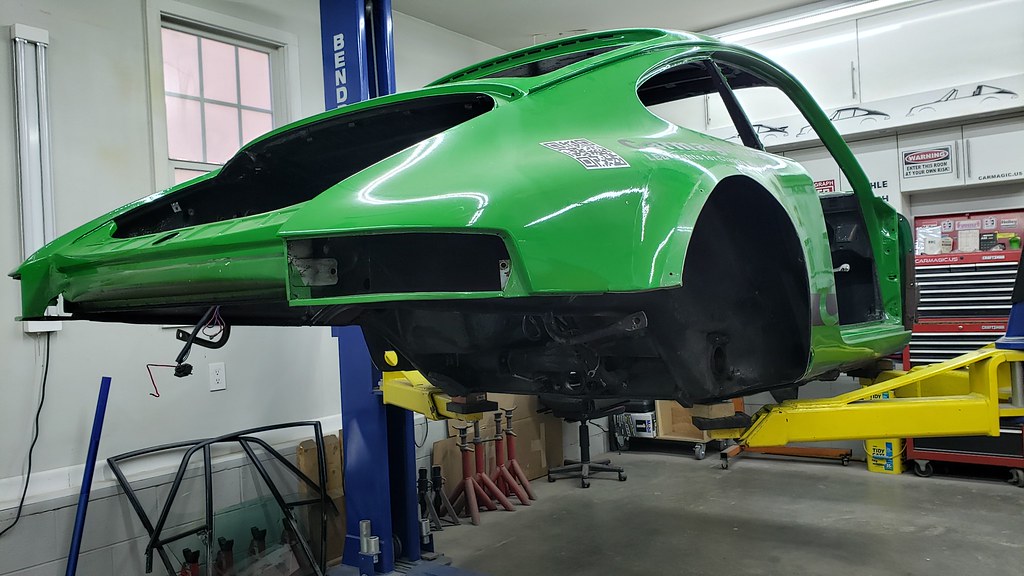
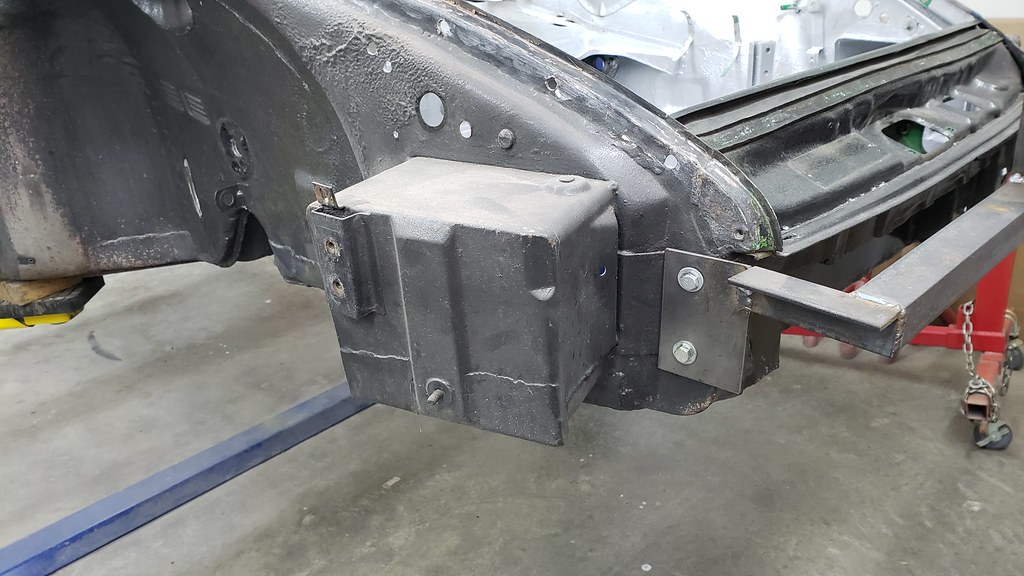
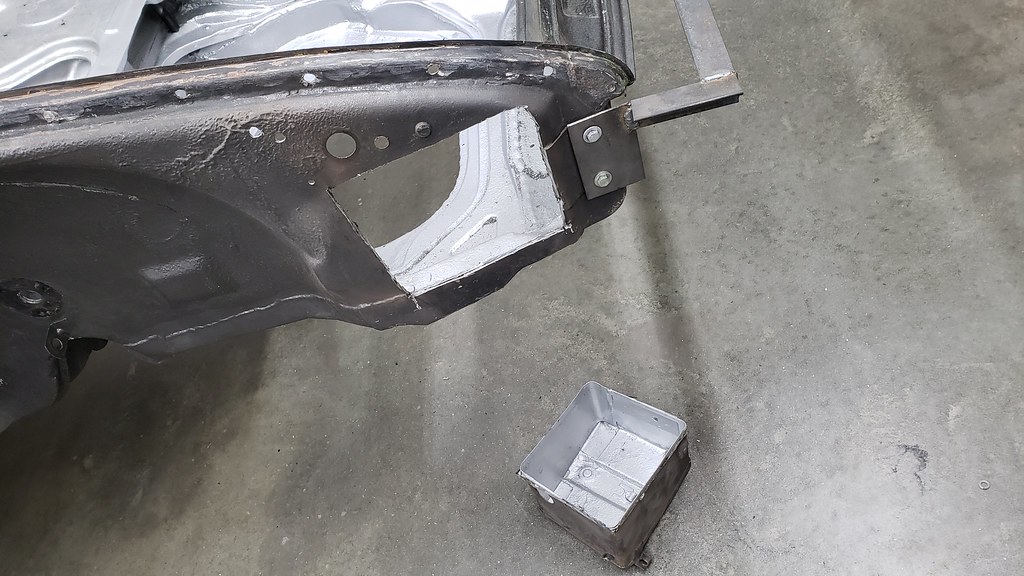
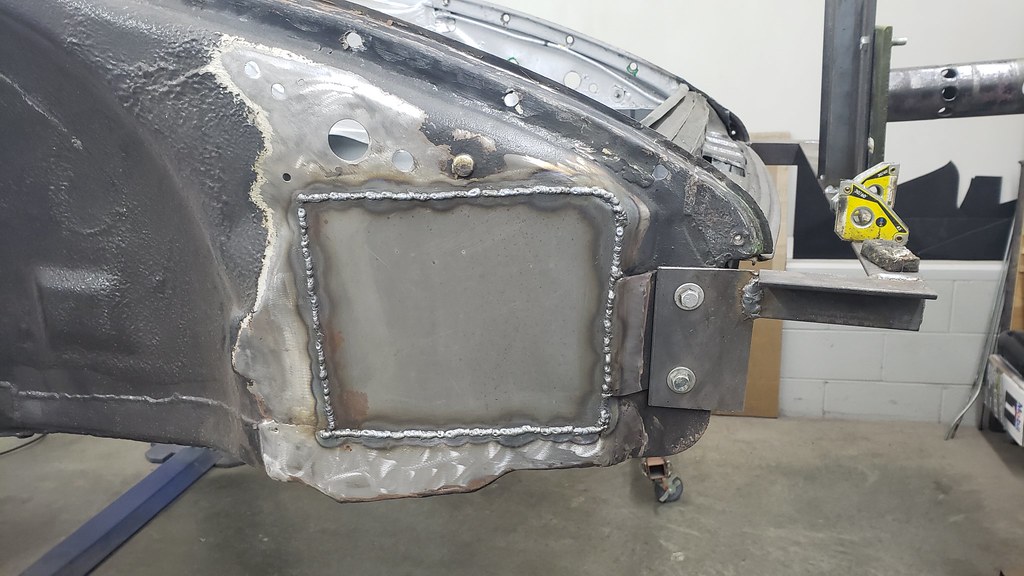
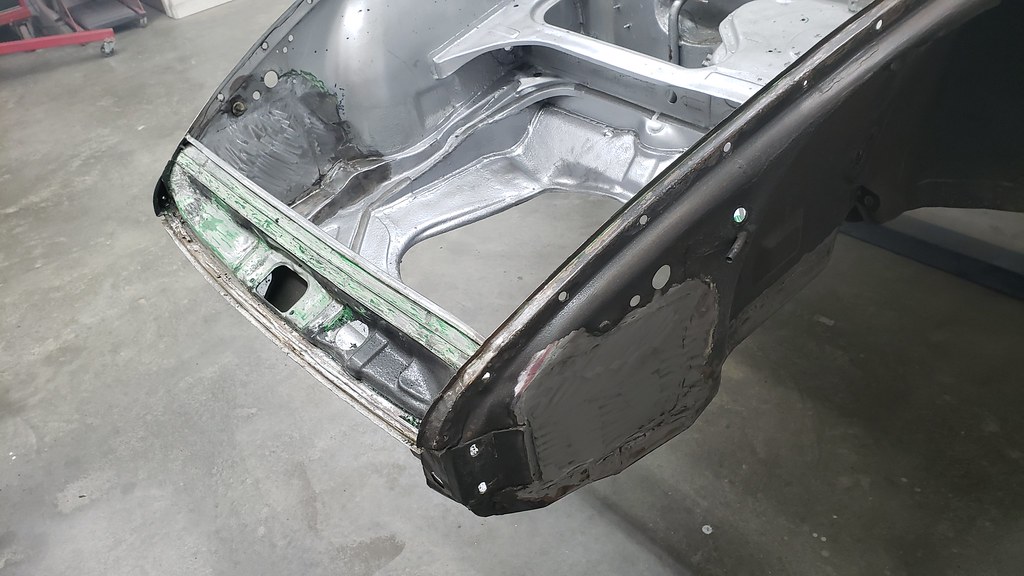
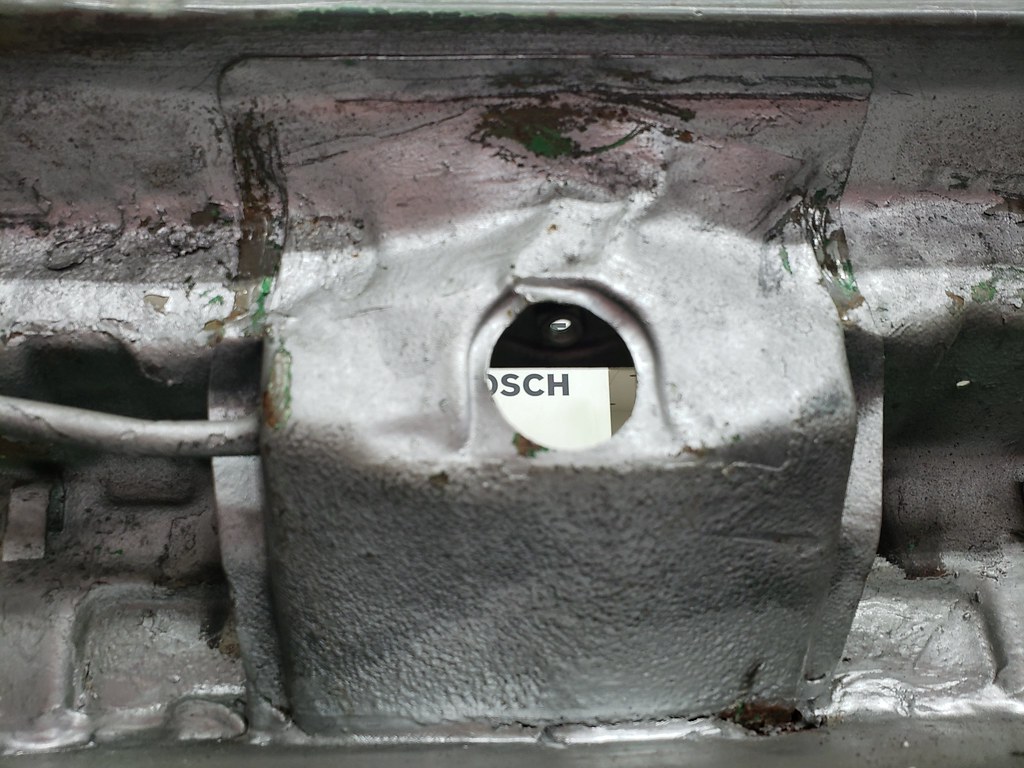
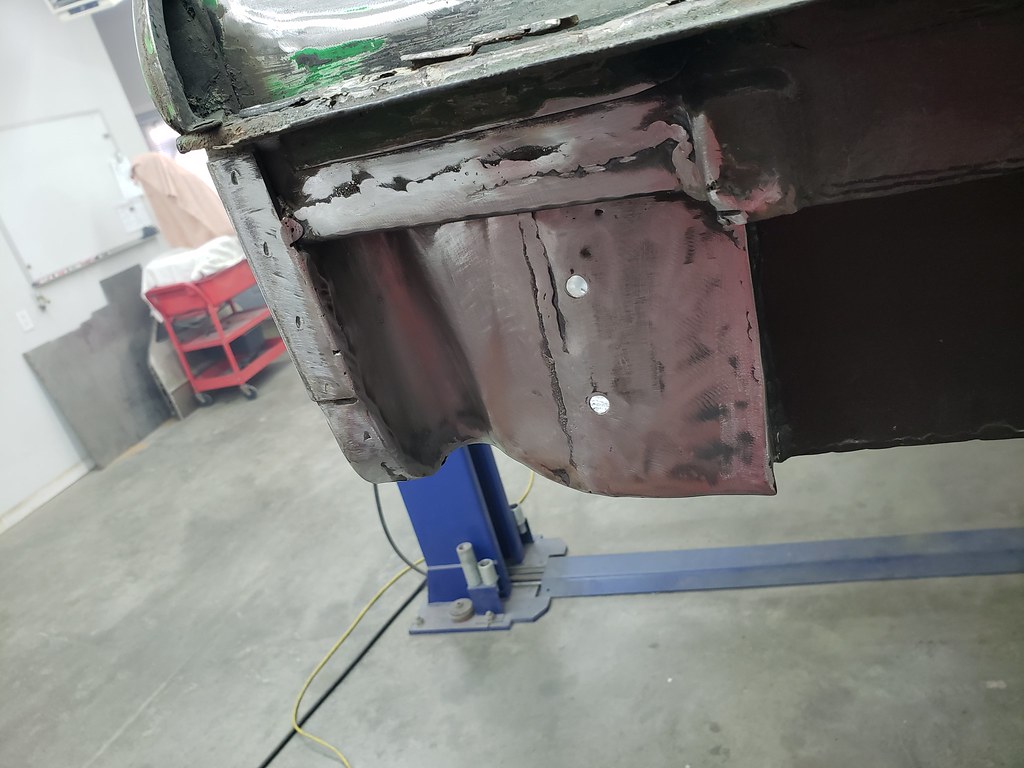
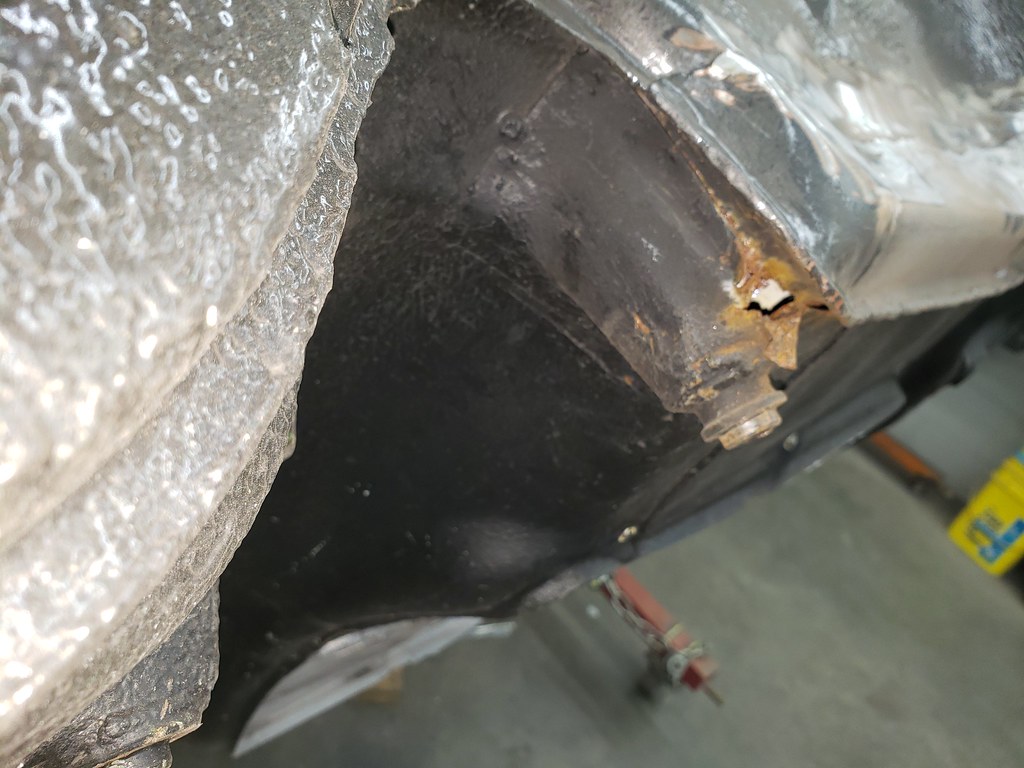
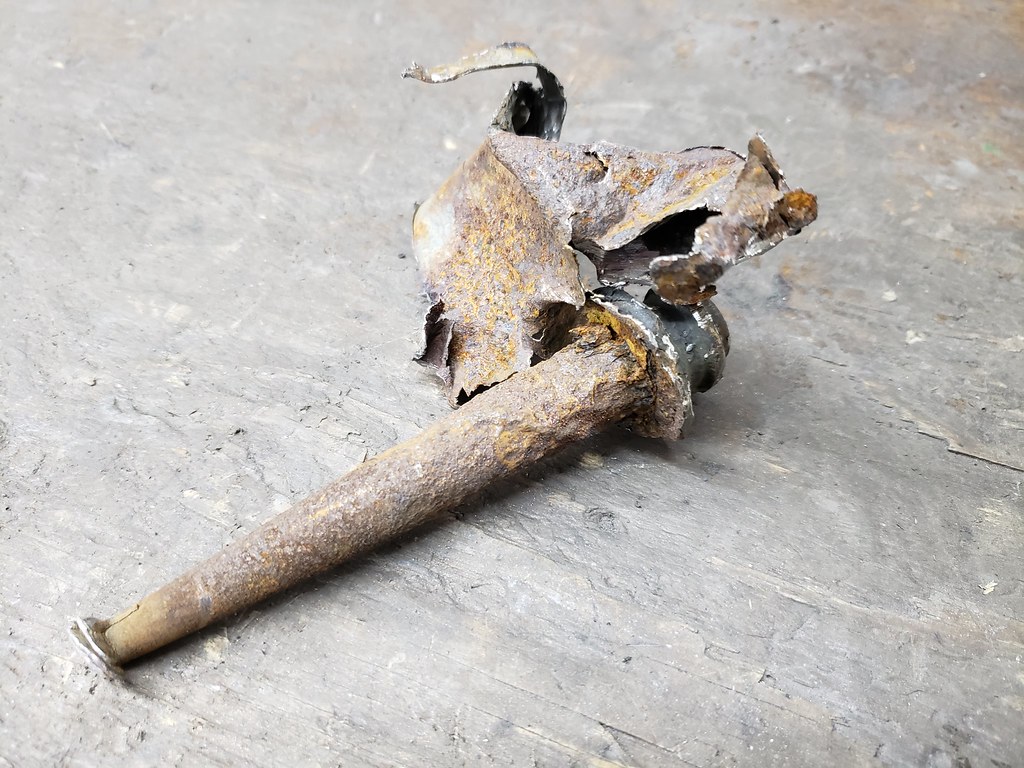
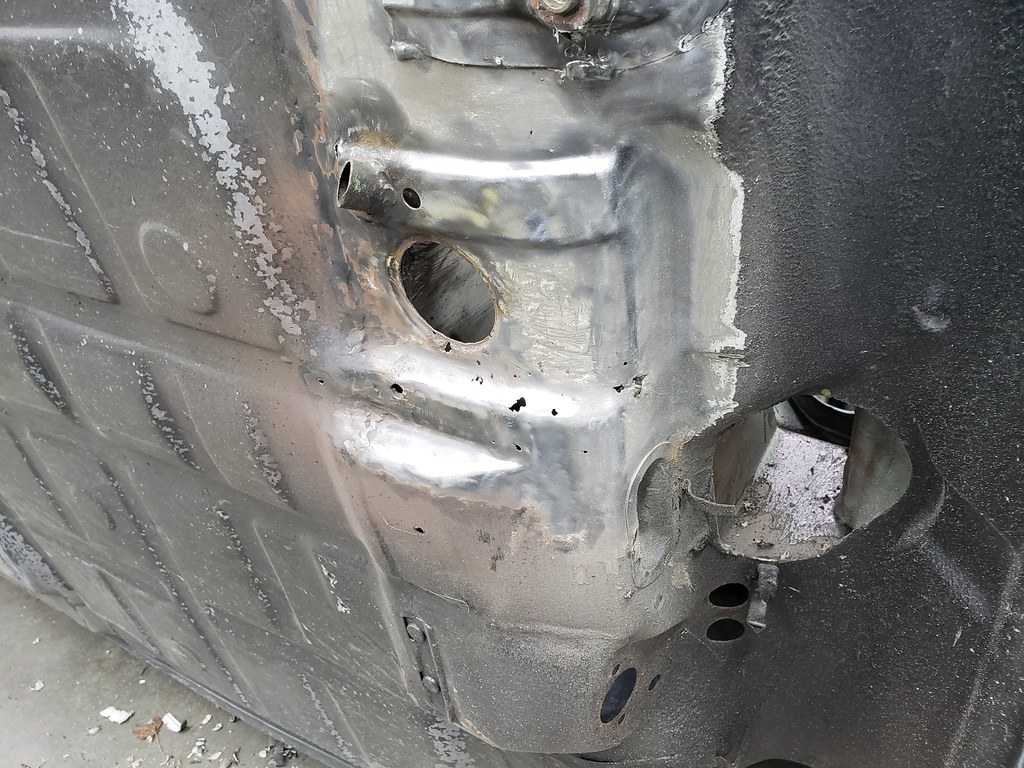
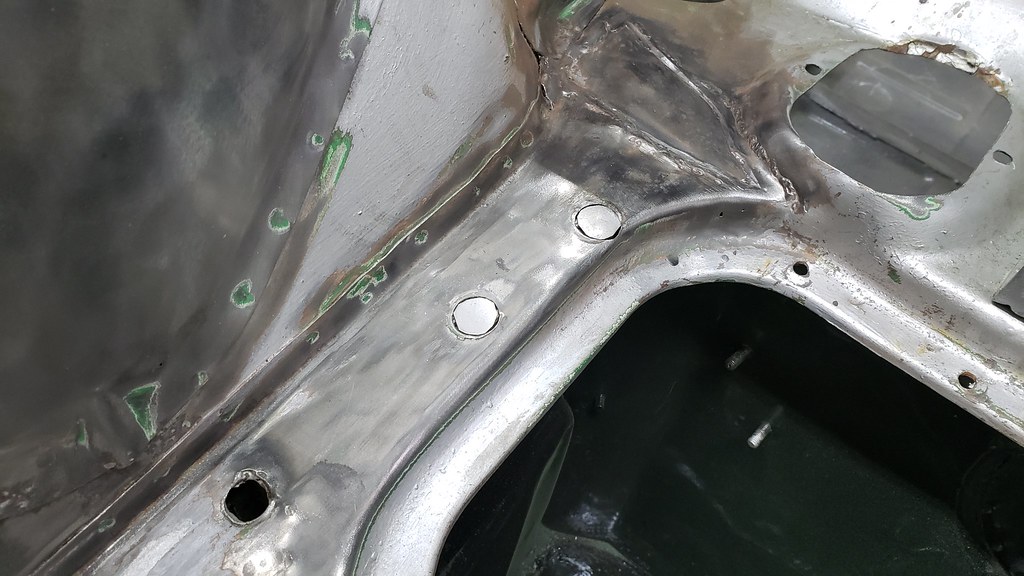
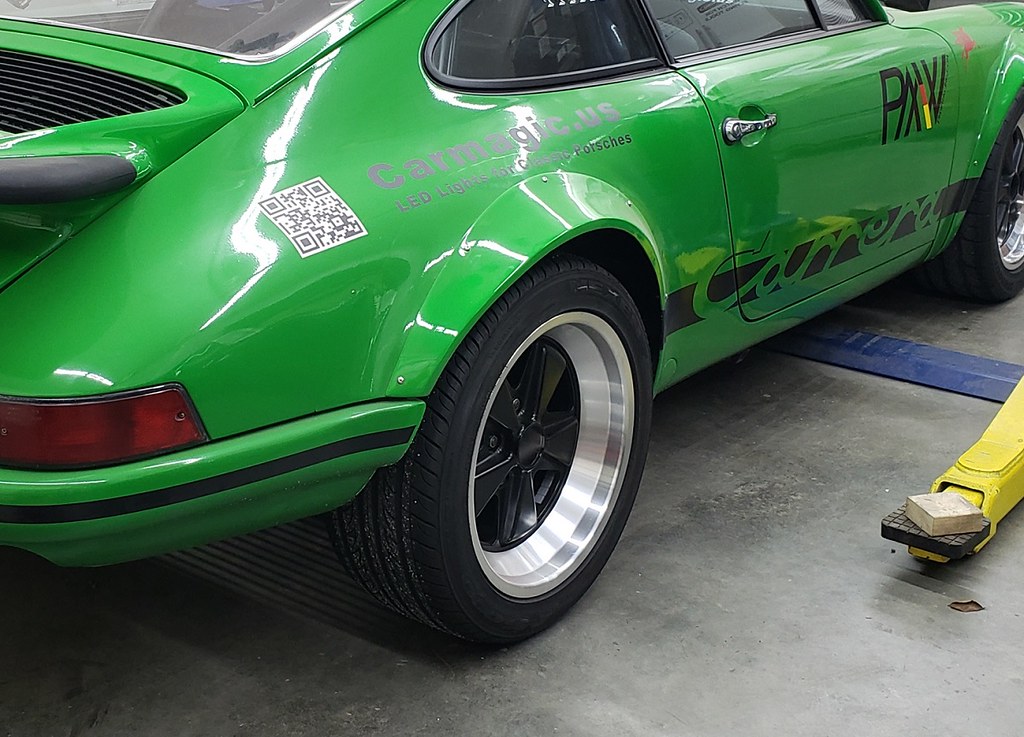
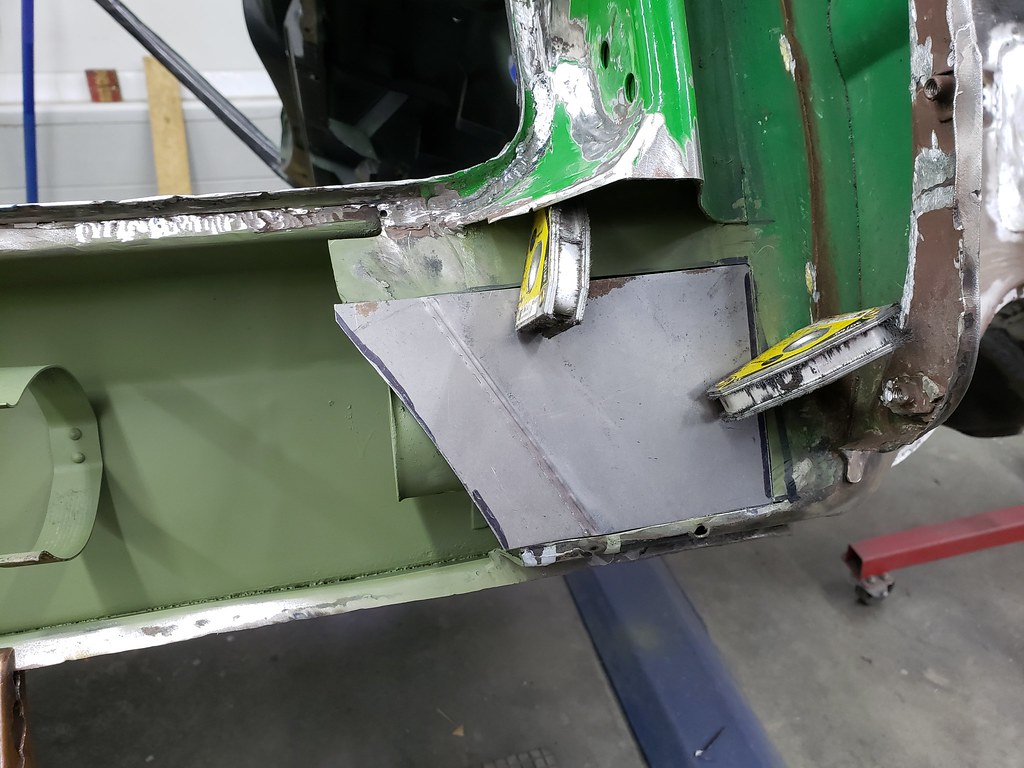
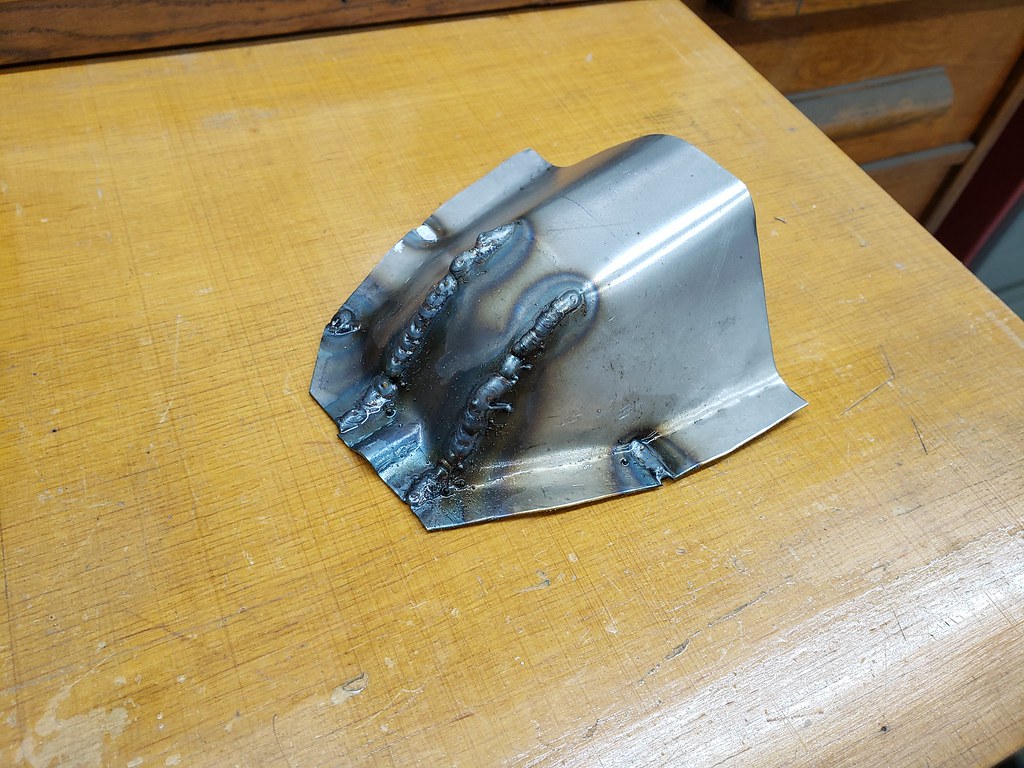
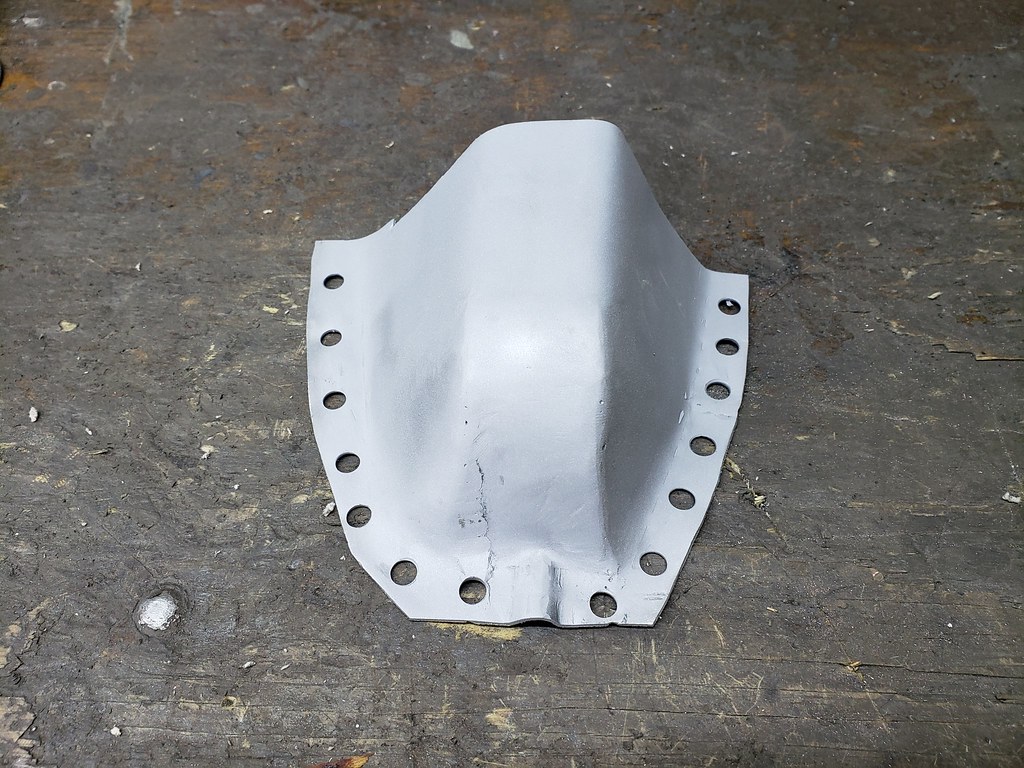
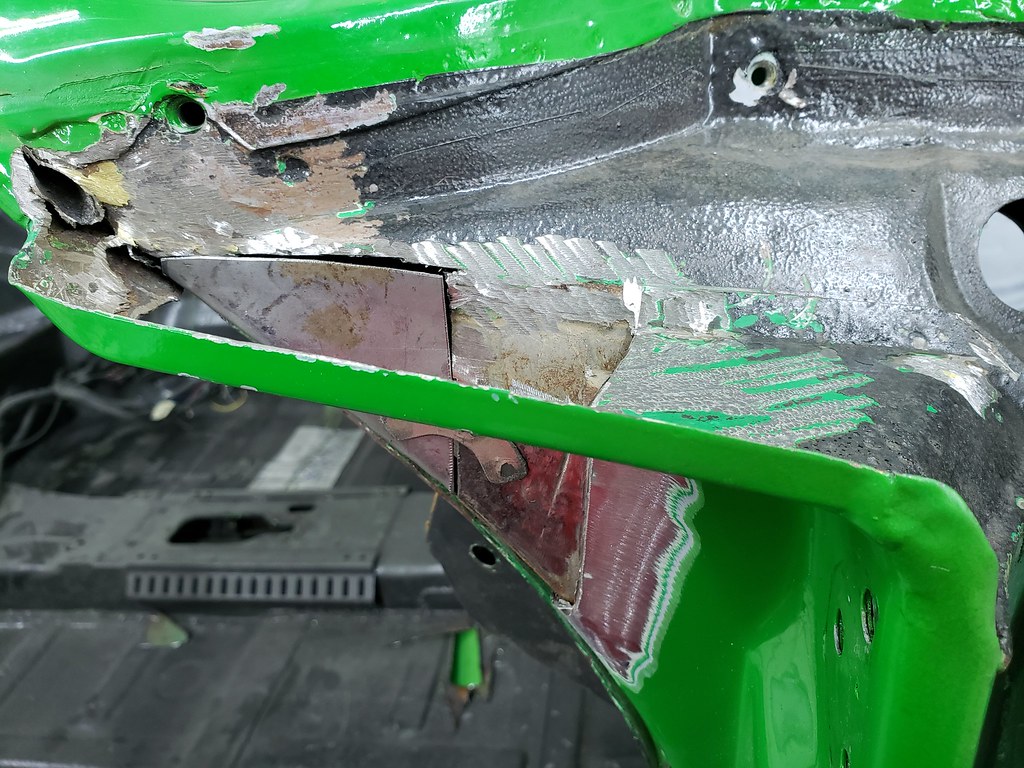
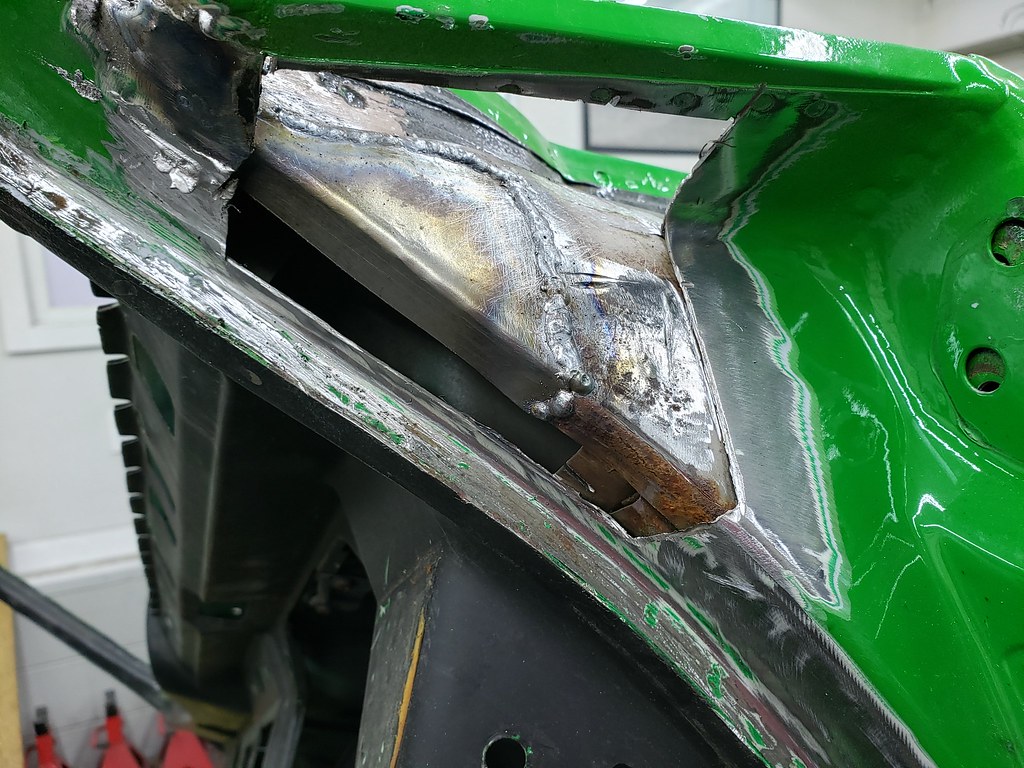
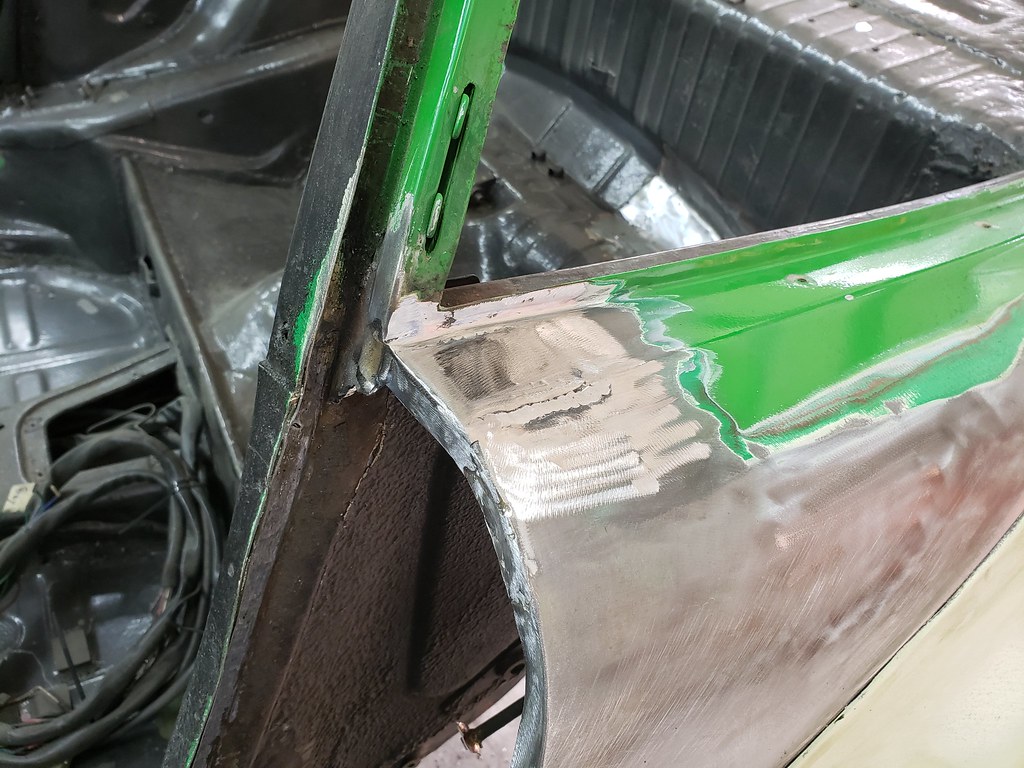
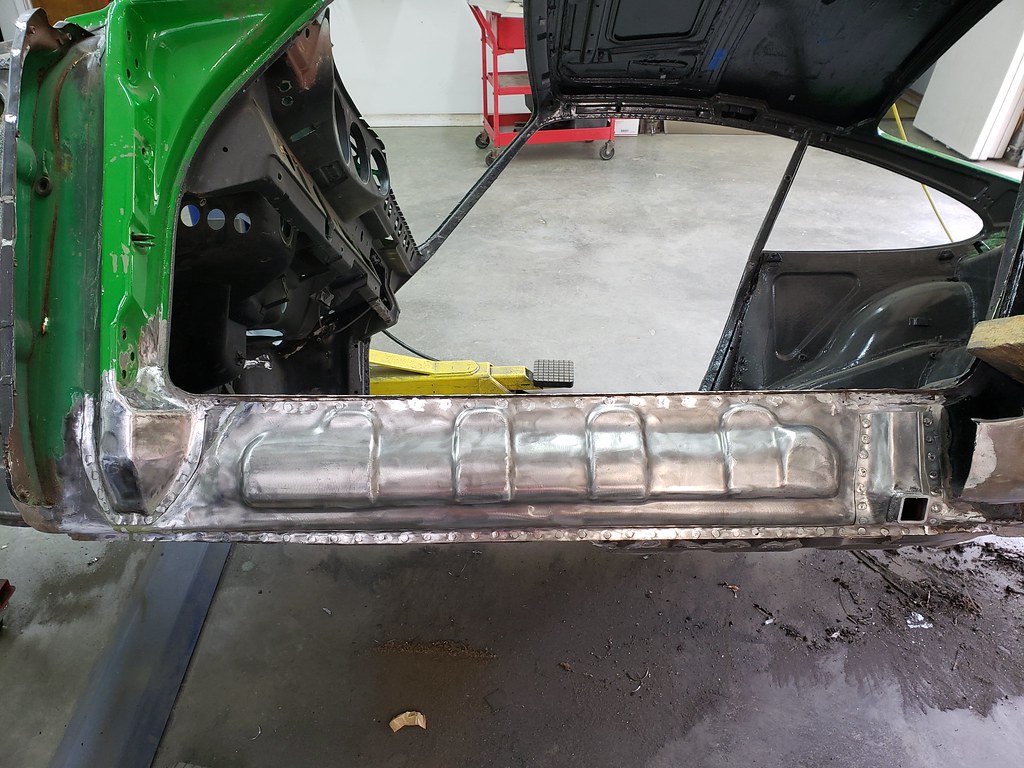
    The 71 911 was my Autocross car for 10 years. But now it time resurrect it and built a nice outlaw 911. . Here are some pictures when I started disassembling the car


    More to come.

    Cheers
    Engelbert

  • #2
    More pictures of the disassembly on the Froggy.


    Removel the front wire harness and the fresh air system.


    The dash pad had a cover, which I left back then, but this time it will be done right.


    I just cleaned it up a bit before I'm putting it away.


    The gauges are all out, and the wire harness from front is pulled inside.


    The doors are all disassembled. Here the locks. I clean stuff up before packing it away. One before the other after cleaning.


    The calipers removed.


    Next the suspension.


    Some more items already cleaned up a bit before put them in storage.


    Most of interior parts are removed at this point.


    The steering rack is ready to go in storage.


    Almost all components removed. This car was disassembled a lot faster then those before, LOL.


    To be continued.

    Cheers
    Engelbert

    Comment


    • #3
      It looked pretty clean to me as you begin. Don’t make it too nice or you won’t want to thrash it around.
      What year is your black targa? - I have one also.

      Comment


      • #4
        The Targa is a 1984. A little modified.

        Here are some pictures.


        Comment


        • #5
          Nice! Mines a 73 but it looks similar. Now sporting a Motronic 3.2..

          Comment


          • #6
            Next is to delete the battery boxes, since the battery was relocated in to the smugglers box. This will also free up some space for additional oil cooler or so.


            The nose panel need also some work. Back than when I butchered the car for Autocross, I just used some body filler to make it look OK.


            I have a new lip piece coming, so this gets replaced, the rest under need is still solid, just a bit banged up.


            I will fix this. Since I have the section for the air flow for the oil cooler, it made no sense to replace the complete nose panel. I would have to cut out that section again.


            So I removed the brace plate behind the lock and will clean it up and bang straight and weld back in.


            I got most of the top section straighten out. Just waiting for the lip piece to come in so I can cut out the old and replace it.


            To be continued
            Engelbert

            Comment


            • #7
              Wow…..am sure you thought about keeping the it just as is and buying a nice donor for new fabrication
              interested in your thoughts on a 2nd car ?
              Whats your goals for new outlaw , sure it will be fantastic

              Comment


              • #8
                More on the front section.
                The section where the oil cooler is located needed some modification. One of the oil line was routed in to the trunk and out again true another hole in the battery box. Since I deleted the battery boxes, I modified the section where the oil lines will be located. Here are some pictures.

                The large hole at the left was for the upper oil line.


                I cut a piece out.


                Fitted in a new piece.


                Test fitting the oil cooler and lines.


                On the suspension pan, I had some overlap from back than when I replaced it. So I cleaned this up and removed the overlapping section.


                I found some rust around the cross member mount.


                I decided to remove the section to see what's going on.


                Here is one of the mounts removed. I ordered new ones for both sides.


                I saw from the inside of the smugglers box some light shining in true some small holes, so I removed the gravel guard of that section.


                From the inside there was also some rust and the bottom of the vertical metal was rusted, so I cut out and replaced it with a new piece.


                From the outside.


                Here all finish welded in.


                Next, the bottom section of the smugglers box.


                Cutting out some rusty metal until its good material to weld on.


                Making a separator piece (or whatever it's called)


                Welding in the new outer piece, I also deleted the hole which had a round cover mounted. This just simplifies things.


                Finish


                Here a view from inside.


                To be continued.

                Cheers
                Engelbert

                Comment


                • #9
                  Nice work, sir. Photos are really good as well. Never quite able to document my own work to my satisfaction, sadly.

                  Comment


                  • #10
                    nothing like taking the bull by the horns.
                    this kind of repair work is so rewarding

                    Comment


                    • #11
                      OK, here we continue:

                      I got the support pieces for the cross member. I cleaned up the section and welded in some reinforcement pieces.


                      Finally welded in the support.


                      The driver side was actually very solid. Looks like there was moisture in the smugglers box and that's why the right side just rusted away over the years.

                      So I cleaned up the old weld and added some additional welds.


                      There were also a few holes drilled in the trunk area, so I closed them as well.


                      There are always some little holes.


                      Here I just cut out some old material.


                      And welded in a new piece.


                      I decided to add some reinforcement to the sway bar area.


                      Same thing for the other side.

                      My new lip piece came in, so I drilled out the old spot welds.


                      Cleaned up that section and got it as straight as possible.


                      Fitting in the new piece.


                      Here is it complete welded in.


                      Also cleaned up some more in the trunk area.


                      Cheers
                      Engelbert

                      Comment


                      • #12
                        Really nice welding, I envy your skills here. Always wanted to, but never learned to weld.

                        Comment


                        • #13
                          Here is an update.

                          Since I was waiting for some metal pieces to come in, I took a look at the fender flares. Since the extensions were added on top of the Carrera flares, I want to make them in one piece.

                          Here is what the looked like with the extensions.


                          So I removed the body filler around the flare, and taped the extension on.


                          Now I can make the plug for the mold.


                          When I did the left side I found some holes from the past, when somebody did body work.


                          So I welded the holes and got it straight.


                          Got the plug almost done.


                          So, I got back the the sheet metal. I know, back when I build the car for Autocross, nothing was perfect, just a racecar, LOL. So this piece comes out.


                          I removed careful the rocker.


                          So there is some work needed.


                          I removed the inner rocker section, this will be replaced with a new piece. Also I get better access to see what's going on in there.


                          I removed the bottom section of the door post.


                          As well a section of the inner wall.


                          Made a new piece and welded it in.


                          Then I made a new piece for the bottom of the door post.


                          I found some rust at the top section of the door post. So I started to look into that.


                          And before you know it you are deep in it, LOL.

                          So I just cut out bad sections, made new pieces and welded it back in.


                          Done


                          So back to the rocker. After spraying the inside with some green stuff from Eastwood, I installed the heating tube.


                          Primed the inside of the inner rocker panel. And welded it in.


                          Next, a new rocker support and test fitting the outer rocker.


                          More to come.

                          Cheers
                          Engelbert

                          Comment


                          • #14
                            way to go Engelbert....

                            Comment


                            • #15
                              Here I started on the driver side with the rocker area. The old door lock support, outer and inner rocker is removed.


                              I checked out the lower section of the door post, and decided it must be removed.


                              I cut out a piece of the inner wall behind the door post bottom section.


                              I made a new piece and welded it in.


                              Also made a new bottom section and welded it in.


                              The rear section of the inner rocker needed also a new piece where the inner rocker ends.


                              The top section of the rear quarter needed some repair.


                              The heater tube end plastic pieces were falling apart, so I made some new ends with the 3D printer.


                              I also replaced the jack support in the left side and welded the inner rocker panel.


                              Here is it all finish welded.


                              Here with the outer rocker support and some primer.


                              Next I will install the doors, fenders and hood to fit the outer rockers and the door lock supports.

                              Cheers
                              Engelbert

                              Comment

                              Working...
                              X